Beer Forum

This is a forum for enlisted and new recruits of the BN Army. Home brewers bringing it strong! Learn how to brew beer, trade secrets, or talk trash about your friends.
http://thebrewingnetwork.com/forum/

Build Your own Jockey Box (step by step)

http://thebrewingnetwork.com/forum/viewtopic.php?f=4&t=1711

Page 1 of 1

Build Your own Jockey Box (step by step)

Posted: Wed May 03, 2006 5:43 pm
by Homegrown Hops
I could not wait any longer! I had to get this project going even if I have to wait for the 50' stainless coils.

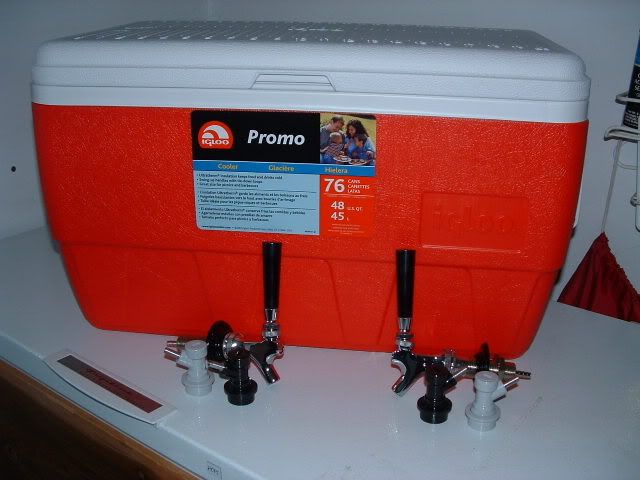
Ingredient list: ( Not all listed items shown)

One large Ice chest

2 each:
Gas-in ball lock Qd
Beverage out ball lock Qd
50' stainless steel coil
Faucet
Handle
Shank with nipple

6" of 1" schedule 120 PVC (sleeves)

silicone sealant
hose clamps
Food grade tubing

Drill and 1" hole saw blade
1/2" Forstner bit
Image


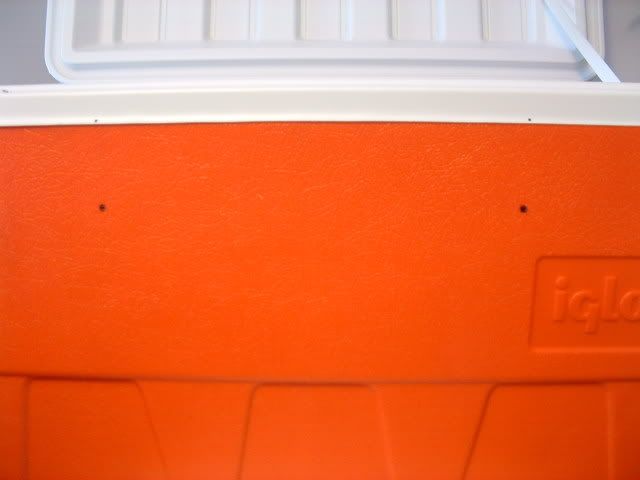
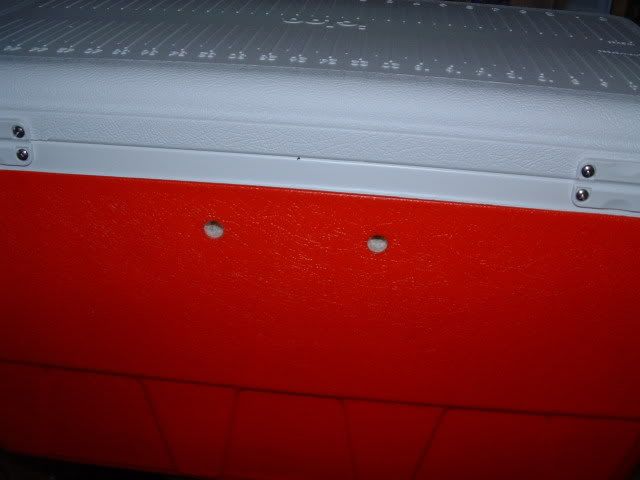
Next measurements for the tap ports.
Image
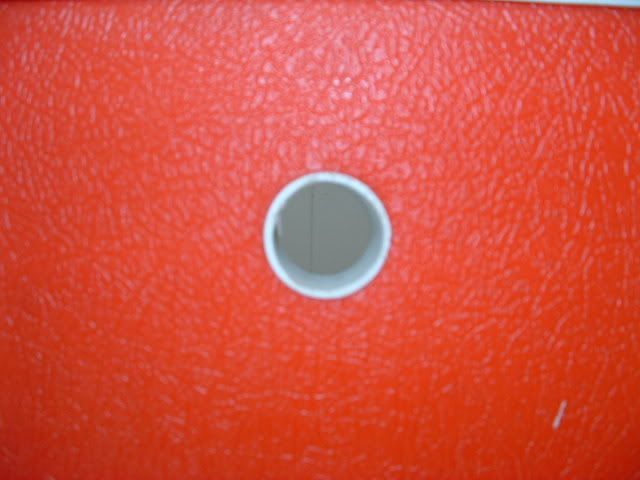
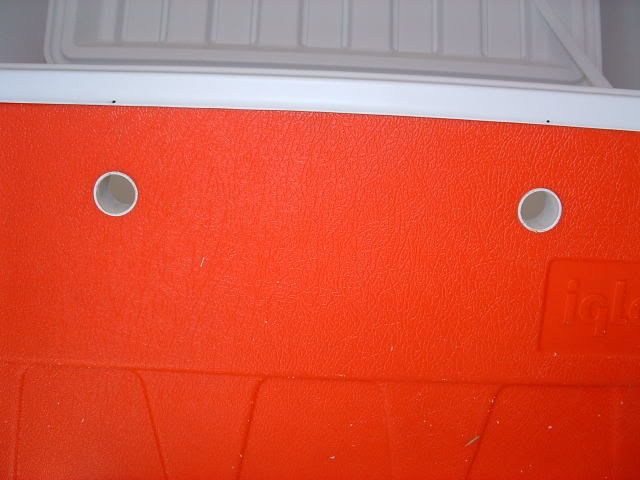
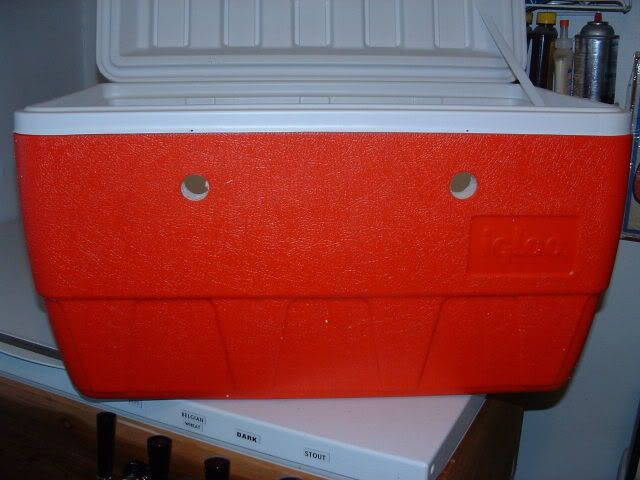
Time for the hole saw. The hole saw I have did not make it through the whole cooler, so I had to do another pass from the inside. (BFD)
Image
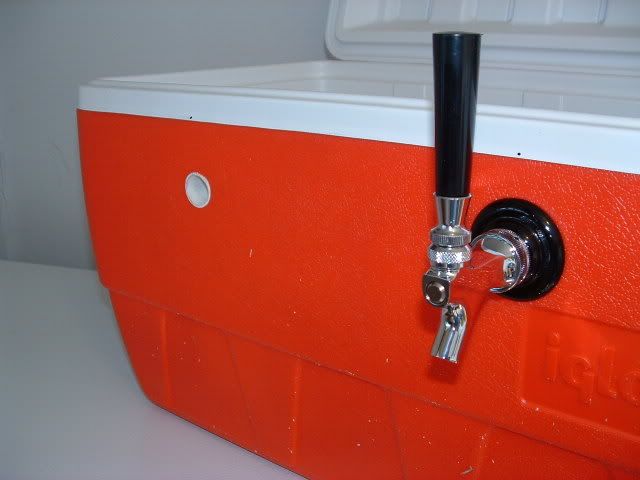
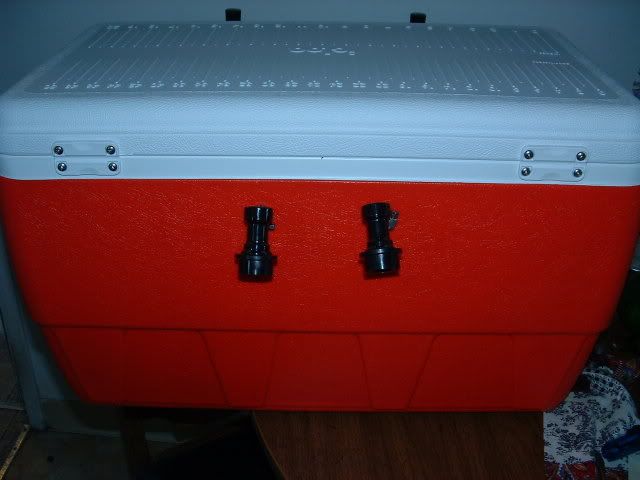
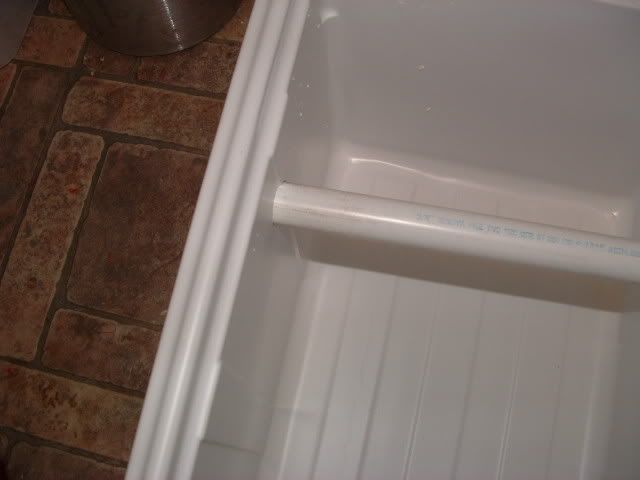
Making the PVC sleeves. This is easy put the pipe in the hole, mark the length and cut it. You want the sleeve to bear the weight of the shank assembly. I did a dry fit and then used the silicone to seal the union of the sleeve and cooler. The pictures do the rest.
Image
Image
Image
Image
Image


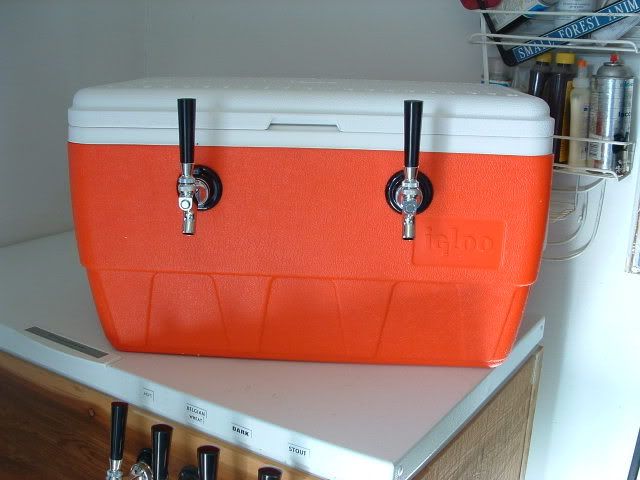
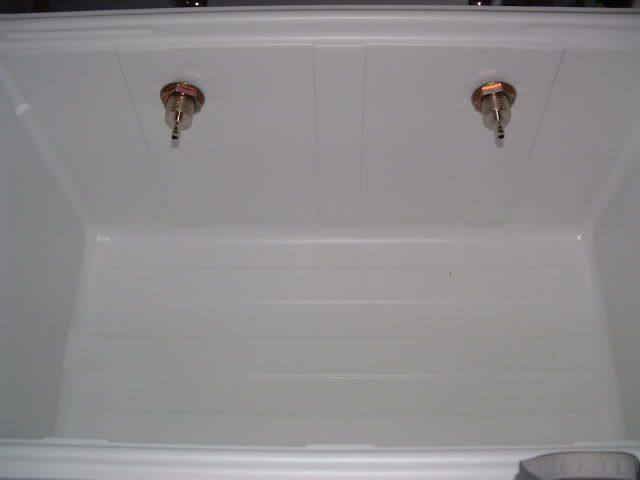
Heres a picture of the box anxiously awaiting the dual 50' stainless steel coils.
Image

Posted: Fri May 12, 2006 10:24 am
by Homegrown Hops
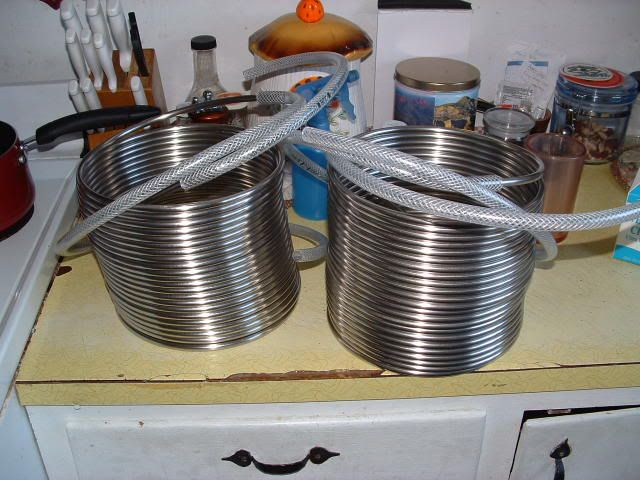
Alright the coils came yesterday, but I was to busy hoisting pints in celebration of the end of finals and the semester.

So lets get this finished off.

I used a 1/2" forstner bit to drill the Bev-in line holes (careful the inside wall is thin as hell and will split with too much pressure. To quote Dr. Scott "ask me how I know, hehe")
Image

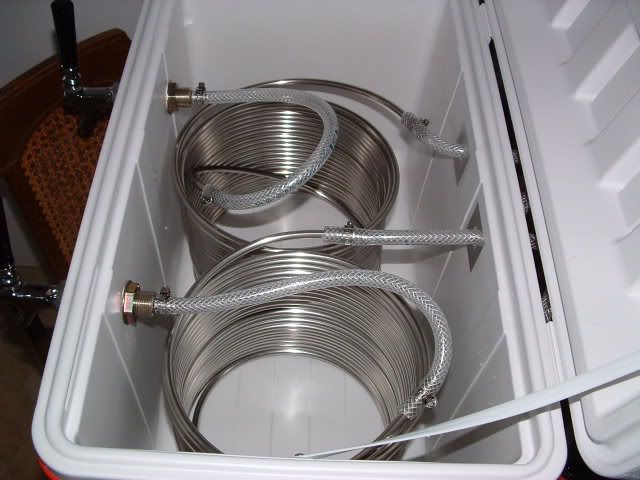
Then I got some hot water ready, heated the end of the tubing then crammed it onto the ss tubing. (about 3-4" overlap for added grip)
Image

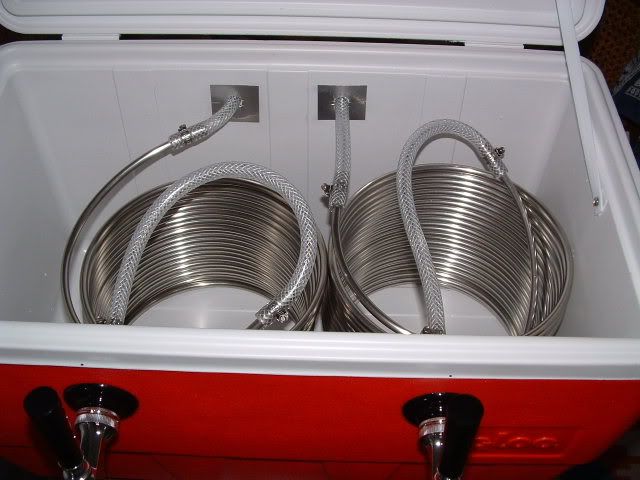
Get the coils in the box and cram the bev-in tubing thru the hole. (tight fit)
Image

Get all clamps tightened and you are home free.
Image

Ready for action
Image

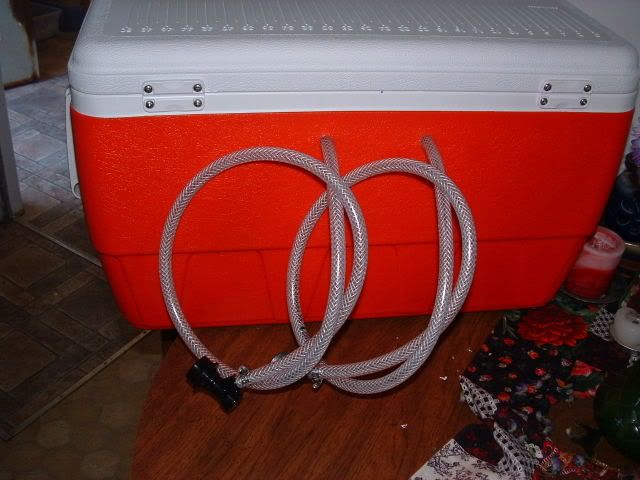
The bev-in line can be pulled back into the box for "hassle free" travelling
(idea from B3)
Image

Posted: Fri May 12, 2006 10:43 am
by Speyedr
That's awesome man! You are an accomplished DIYer... if that's a word.

Can you design an automatic Nipple Pincher for Justin's nipples? I think Silver Dollar size is about right...Justin?

Posted: Fri May 12, 2006 11:31 am
by 2DogAle
HH, what was the total cost of this set up?

Rob

Posted: Fri May 12, 2006 1:02 pm
by Homegrown Hops
With all things considered, I would say right about $200 retail. I could have thrown in another $40 and got the pre-made one from B3, but that would not have been as much fun. It can be done cheaper but I didn't think that trying to bend my own coils would be fun with SS. The ss coils and the tap assembly is the bulk of the expense the rests of the parts are relatively cheap.

HH

Posted: Fri May 12, 2006 2:40 pm
by Thirsty Mallard
Niiiiice work HH!

And big thanks for the step by step... I will file this print-out away in the "to do" folder!

Posted: Fri May 12, 2006 4:29 pm
by Homegrown Hops
JRoche00 wrote:Niiiiice work HH!

And big thanks for the step by step... I will file this print-out away in the "to do" folder!
Thanks for the kind words JRoche, one of these would be a great asset to have for college parties. I plan on trying it out with some warm water in a corny just to see how well it cools, should be interesting to see the temp difference.

HH

Posted: Fri May 12, 2006 11:21 pm
by Lars
One piece of advice/experience talking. When you go to use your new joy (looks great btw) fill with ice AND water. The water helps the coils be more efficient by surrounding them 100% instead of just where the ice contacts them. Oh and either have the lines full of liquid or completely dry to start with or you could have some freezing issues. Enjoy cold beer on demand!

All times are UTC - 8 hours
Page 1 of 1